Prefer to Watch a Video? Click Here
In this document, we will outline the steps to connect MakersHub with QuickBooks Online. This integration will allow MakersHub to instantly record changes and reference any updates in QuickBooks.
Before getting started, be sure to log in to MakersHub and QuickBooks Online.
Step 1: Navigate to Integrations
In MakersHub, select the drop down next to your name in the top right corner. Go to Integrations and select Connect next to QuickBooks Online.

Then select Connect to QuickBooks. A new window will appear to begin the authorization process.
.png)
Step 2: Follow the Instructions in QuickBooks
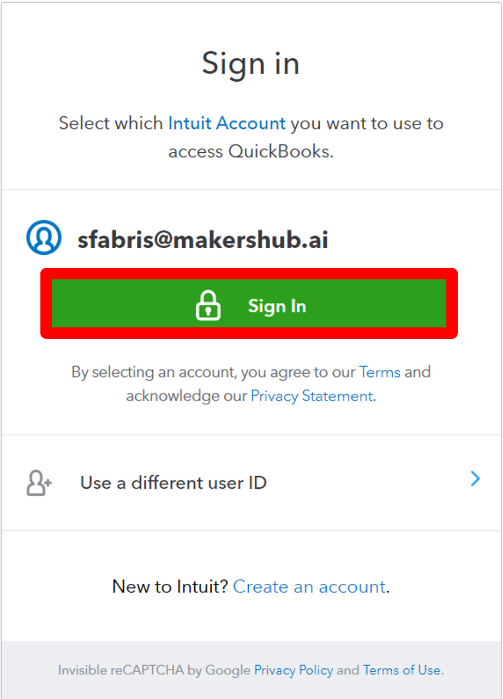
Now, you will be sent to QuickBooks and may be asked to sign in to your QuickBooks account if you are not already logged in. Click Sign In.
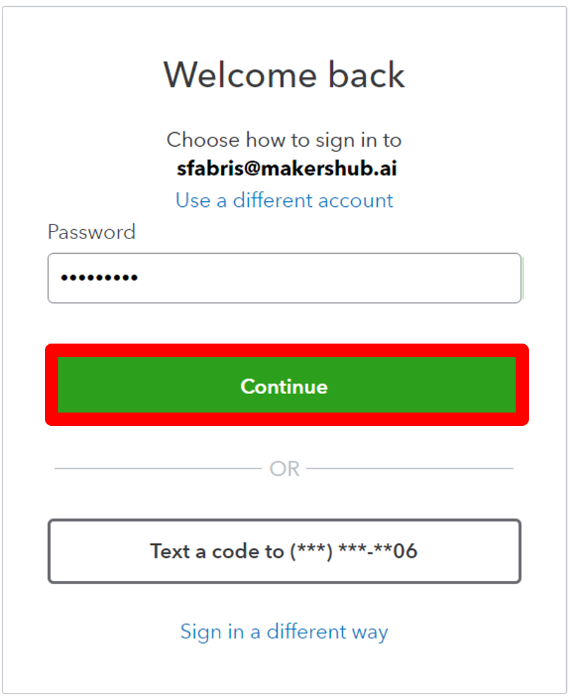
Enter your password and click Continue.
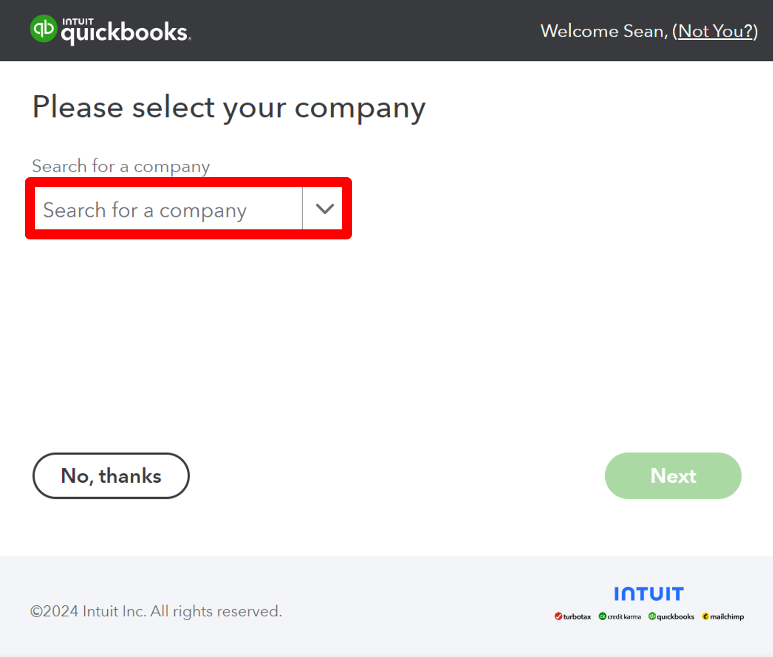
Select your company from the dropdown.
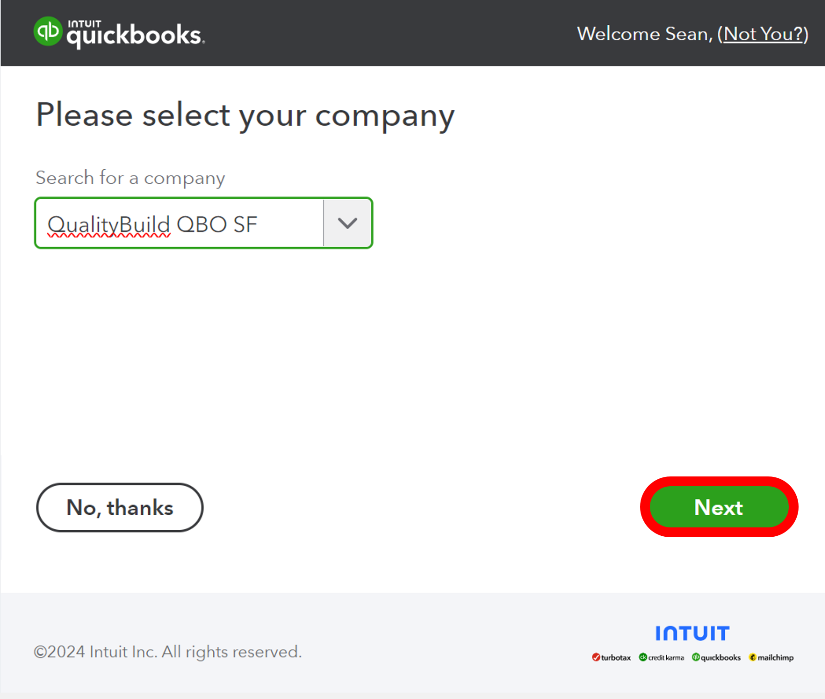
Click Next.
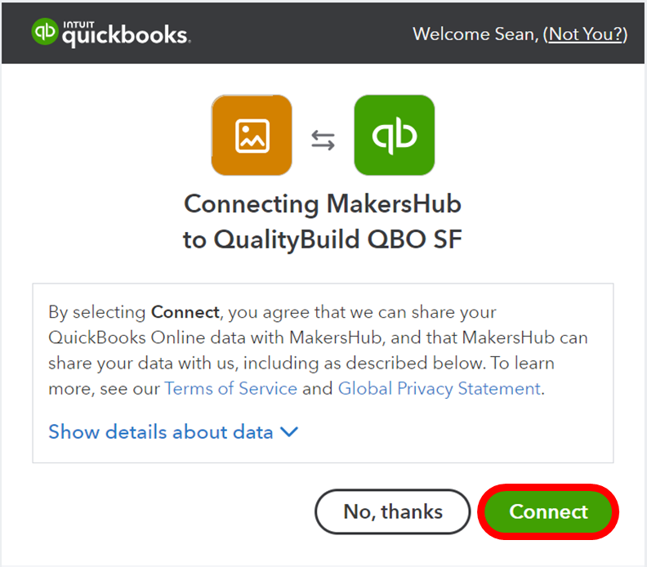
Click Connect to allow MakersHub and QuickBooks to communicate with each other.
Step 3: Sync Data with QuickBooks Online
A message will appear stating the connection was successful. Close the authorization window.
.png)
Navigate back to MakersHub. Select Sync Data with QuickBooks Online to start the first sync.

Step 4: Integration Complete
Now that you have synced your data with QuickBooks Online, you can navigate to the Integration Data tab and verify that records have been imported and click the various drop downs to view the records.
.png)
Now, changes made in MakersHub will be made in QBO and changes in QBO will be made in MakersHub. You are ready to process your first bill!
Additional Steps: Multiple AP Accounts
If you have multiple AP Accounts, follow these additional steps below to select the default AP account.
Navigate to the Chart of Accounts.

Select your Default AP Account from the dropdown.

Click Update Settings to save the changes.
