This document will guide you through the User Settings and the User Groups tabs accessible under Admin Settings. Once users have been added and their permissions configured, you can create rules on when to include them to review and approve bills by creating an approval workflow.
Prefer to watch a video? Click here.
Add Users and Configure Permissions
In the User Settings tab, you can add individuals to MakersHub and customize their permissions, allowing you to position each user based on their role in the bill approval or payment process.
Step 1: Add New Users
To add a new user, simply type in the First Name, Last Name, and Email. Click the green Add New User button that appears.
.png)
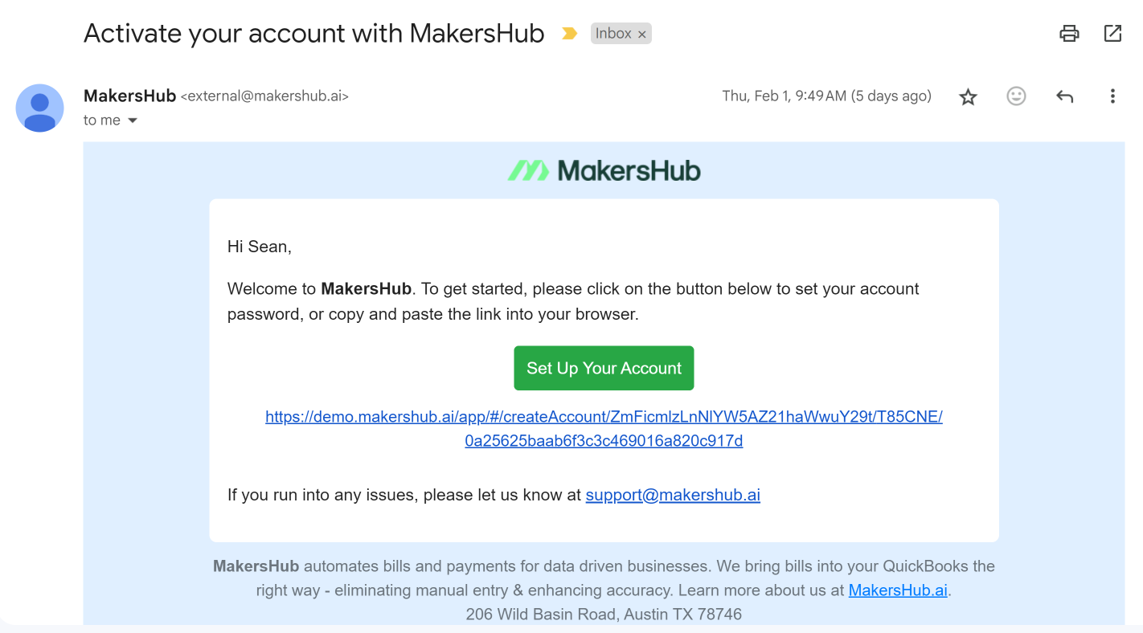
The invited user will then receive an invitation in their inbox to create their account in MakersHub (shown below).

Step 2: Configure User Permissions
Once a user is added to MakersHub, you will want to be sure to configure their Permissions and Approval Limits. By default, when a user gets access to MakersHub, their permissions are completely blank, meaning that you will need to configure what tabs they have access to.

Access | Details |
|---|---|
Role | Reference point to help identify a user’s position in the company. |
Permissions | Determines what features users have access to. Granting Admin permission allows a user to have access to all pages without an approval limit. |
Default Page | Landing page that appears when logging into MakersHub. |
Approval Limits | Assigns a maximum threshold in which users are allow to approve a bill or a payment. |
Supervisor | Assign a supervisor to approve bills above an approver’s limit. To do this, Allow Approval Above Limit should be toggled on. Go to Bill Settings>Approval Workflow>Allow Approval Above Limit to allow users to approve bills above their limit and automatically route bills to their Supervisor. Learn more here. |
Things to Keep an Eye for:
By default, new users do not have access to any of the tabs. Be sure to configure their permissions!
Don’t forget to click update after you make changes.
Bill approval and payment limits are automatically set to $0. Be sure to set an approval limit so that users can approve bills/receipts or authorize payments!
Permissions
Dashboard - High level overview of AP queue.
Tab Access
Bills - Review and approve assigned bills.
Receipts - Review and approve assigned receipts.
Payables - View approved bills and schedule payments.
Payments - Review and authorize assigned payments.
AP Archive - Gives users access to see all bills/receipts in the system.
Vendor List - Allows users to have access to the vendor list in MakersHub. Here they can view and create new vendors.
Users with accounting access can also add vendor payment information.
Time Tracking - Timesheet tracking module (available in QuickBooks Desktop at this time).
Integrations - Gives users access to the QuickBooks integration as well as the integration mapping.
Accounting Access - Gives users permissions to view the GL Account, Class, and Billable Status for all bills/receipts. Additionally, users with Accounting Access can add vendor payment information.
Common Permission Configurations
Project Managers: Users who will only need to review and approve bills.
Give them permission to the Bills and Receipts tab. Additionally, if they will want to reference bills that they had previously approved, they can do so with the Archive.
Be sure to set their Bill Limit to a reasonable number based on the amount of bills they will be approving.
Payment Approvers: Users who only sign off on payments.
We see a lot of variance in access, but if they only need to approve bills, then you would give them access to the Payments tab and set the Payment Limit to a reasonable level.
If they will be scheduling payments, you will want to give them access to the Payables Tab.
If they will also be uploading payment method’s you will want to give them Accounting Access.
User Groups
Once the users in your organization have been added, you may create User Groups to mirror your organization’s structure. User groups are teams that can be created to reflect your business structure. These groups are useful when creating approval workflows where only one member of a specified group needs to approve a bill or payment.
Creating User Groups
To create a user group, type the Group Name and the Group Description and click Add User Group. Consider the example below, where we are creating an AP Department user group.

Then click the Add user… dropdown and select the members you want to be part of the group. Click Update when done.

Now, when creating approval workflows, only one member of the AP Department would need to approve a bill for it to become a payable.
.png)