You can adjust the settings in MakersHub to require W-9’s be obtained from vendors before a payment is submitted.
Update your Settings
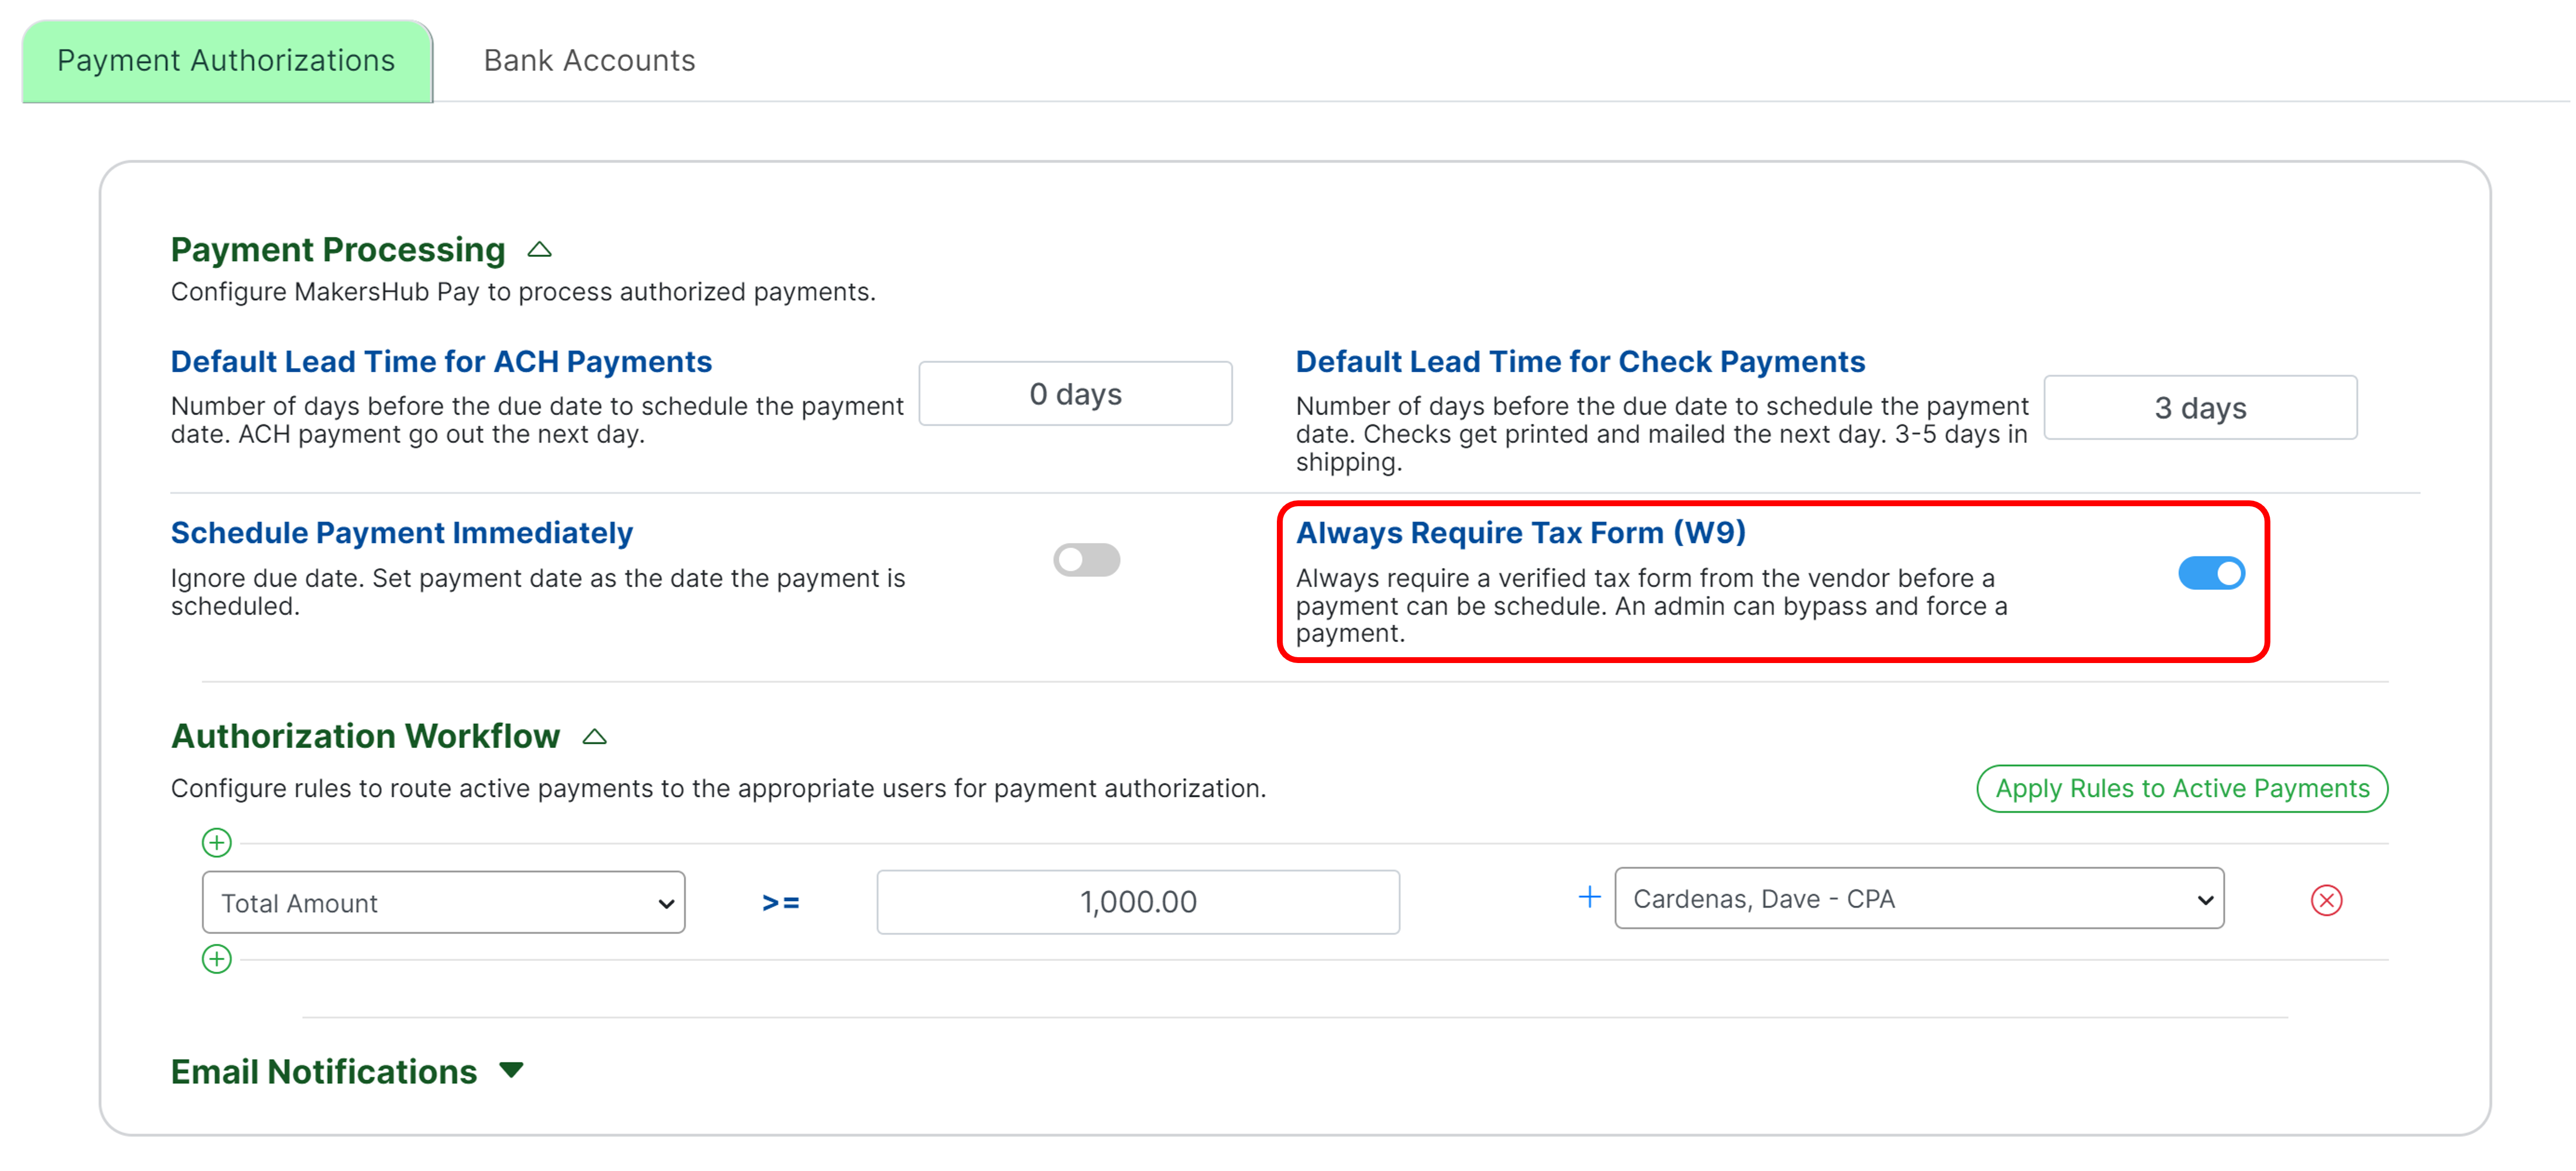
To require W-9’s before payments can be made, navigate to Admin settings and select Payments. Toggle on Always Require Tax Form (W-9). This will require users to have a verified tax form before a payment can be scheduled.
Override Tax Form
When enabled, the tax form requirement can only be overridden by an Admin.
With this enabled, when a user tries to schedule payment without a verified tax form, a notification will appear indicating that there is no tax form. Only users with Admin permissions can override this restriction and process payments without a W-9.

Add a W-9
To upload or request a W-9, navigate to the Vendor Detail Page. This can be accessed when scheduling payment by clicking on the Vendor Name.
.png)
In the bottom left corner, you can select Add a W-9 Form.
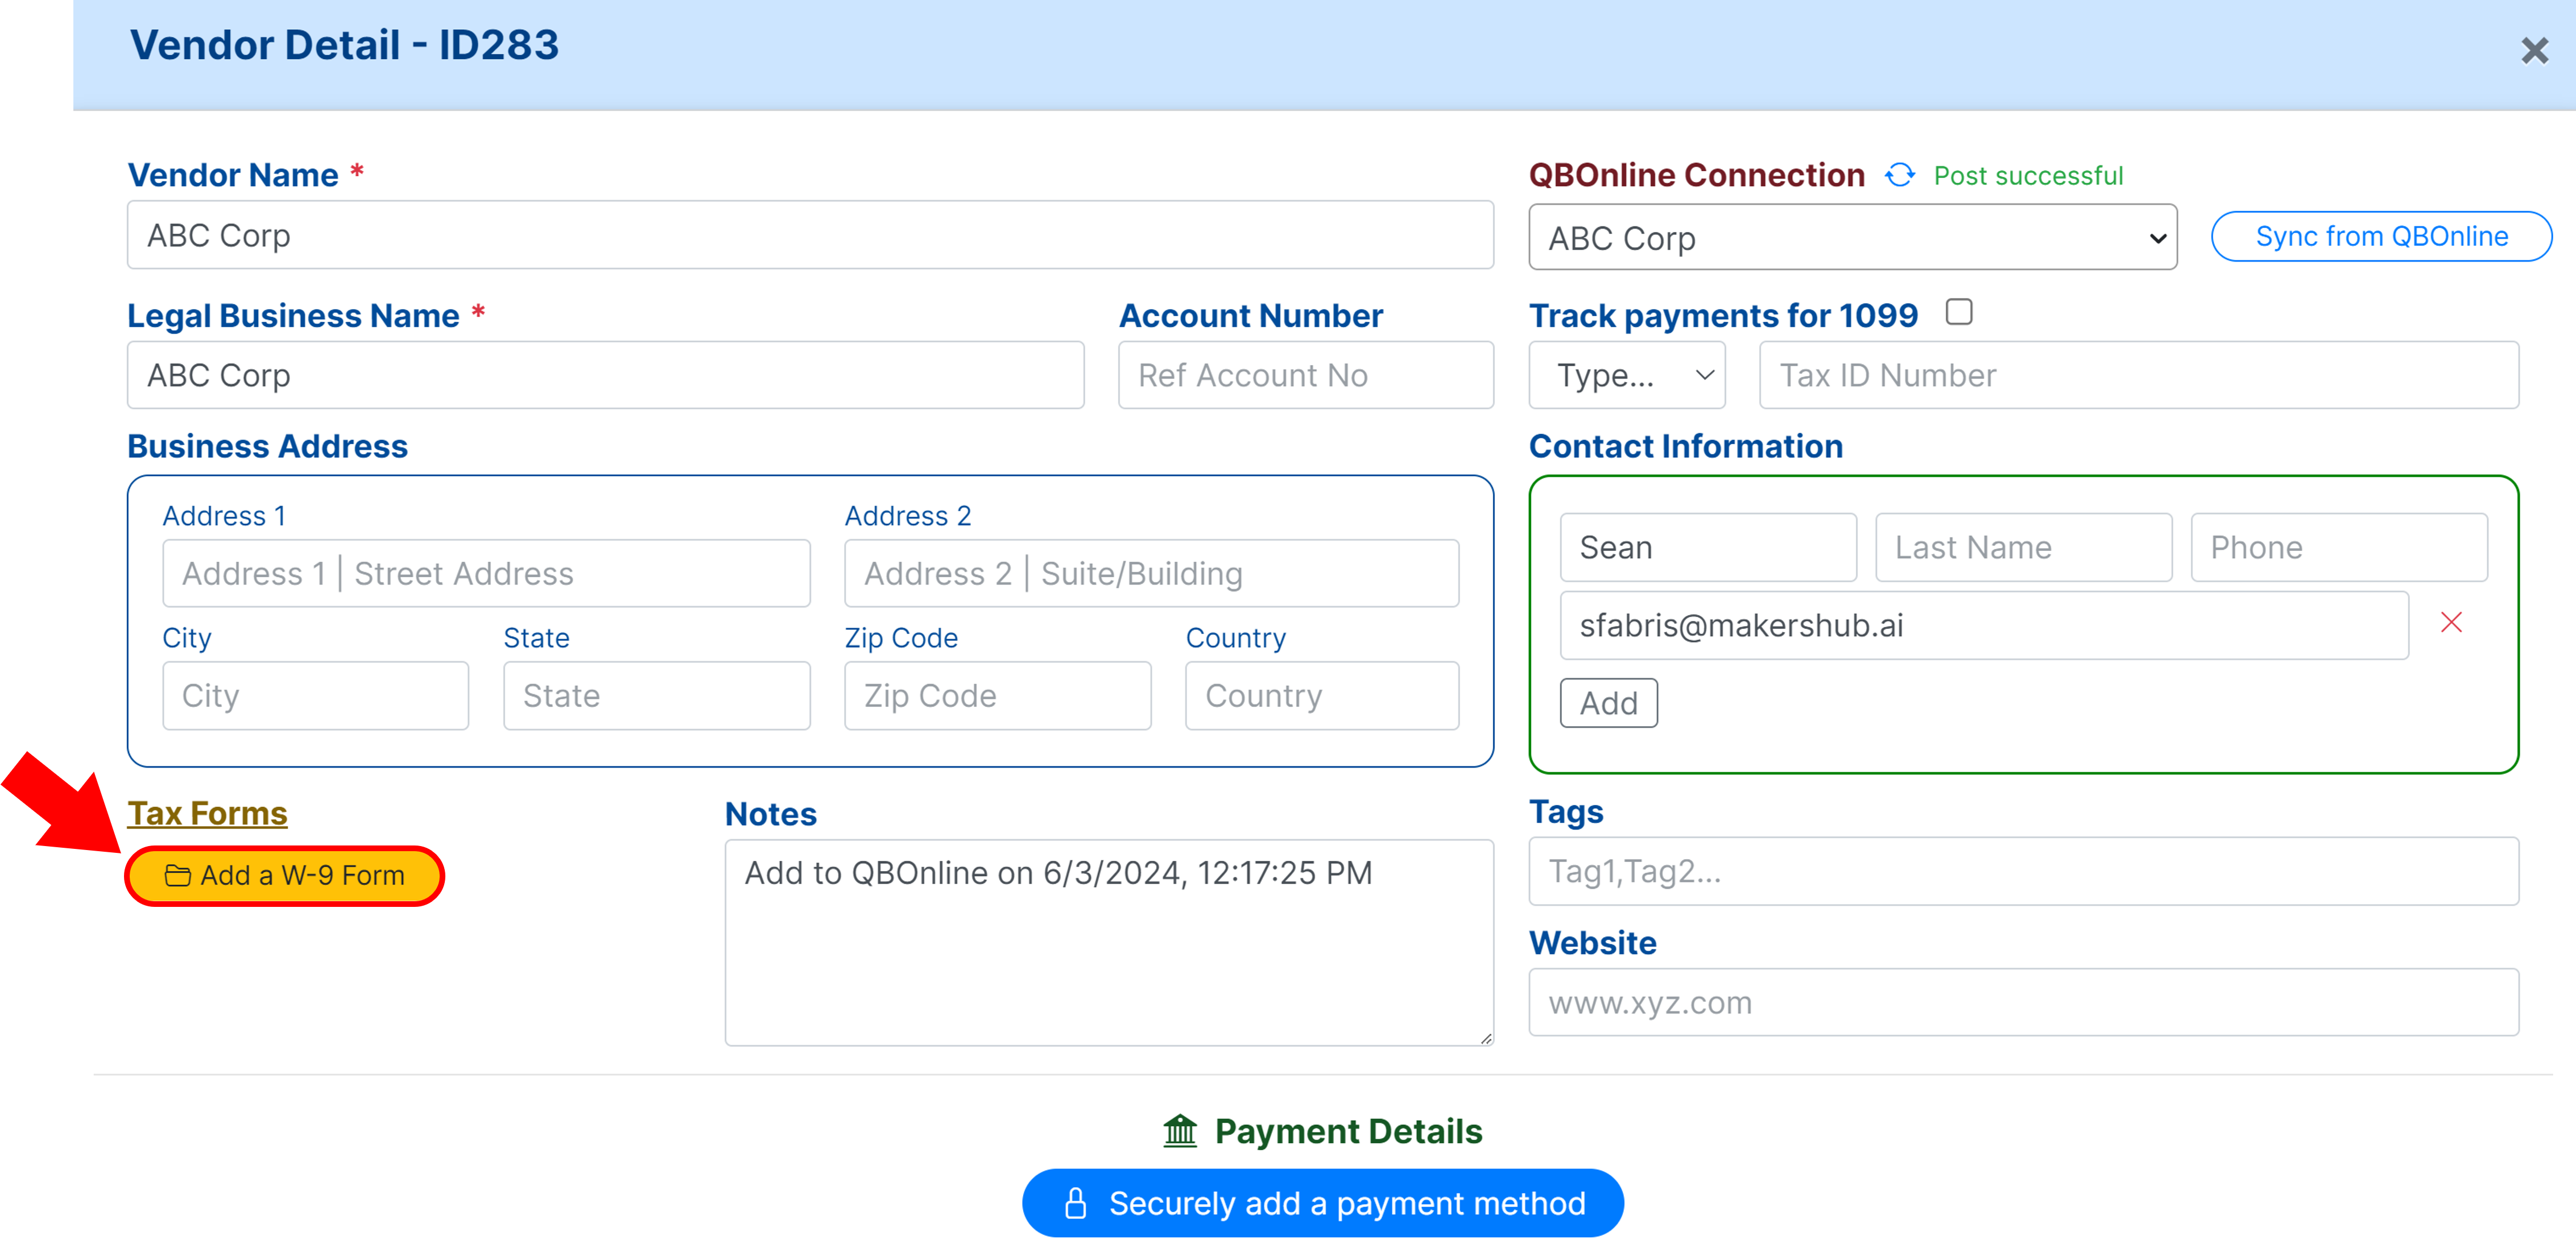
If you have an email under the Contact Information, you can request the vendor submit a W-9 form . Alternatively, you may upload the W-9 form if you have a copy on hand.
.png)
Upload a W-9
Should you have a copy of the W-9 in your files, select Upload a W-9 form.

A pop-up will appear where you can select the W-9 from your files and click Open to upload.
Vendor Request W-9
Should you not have a copy of the vendor’s W-9, you can select Request vendor to submit W-9 form.

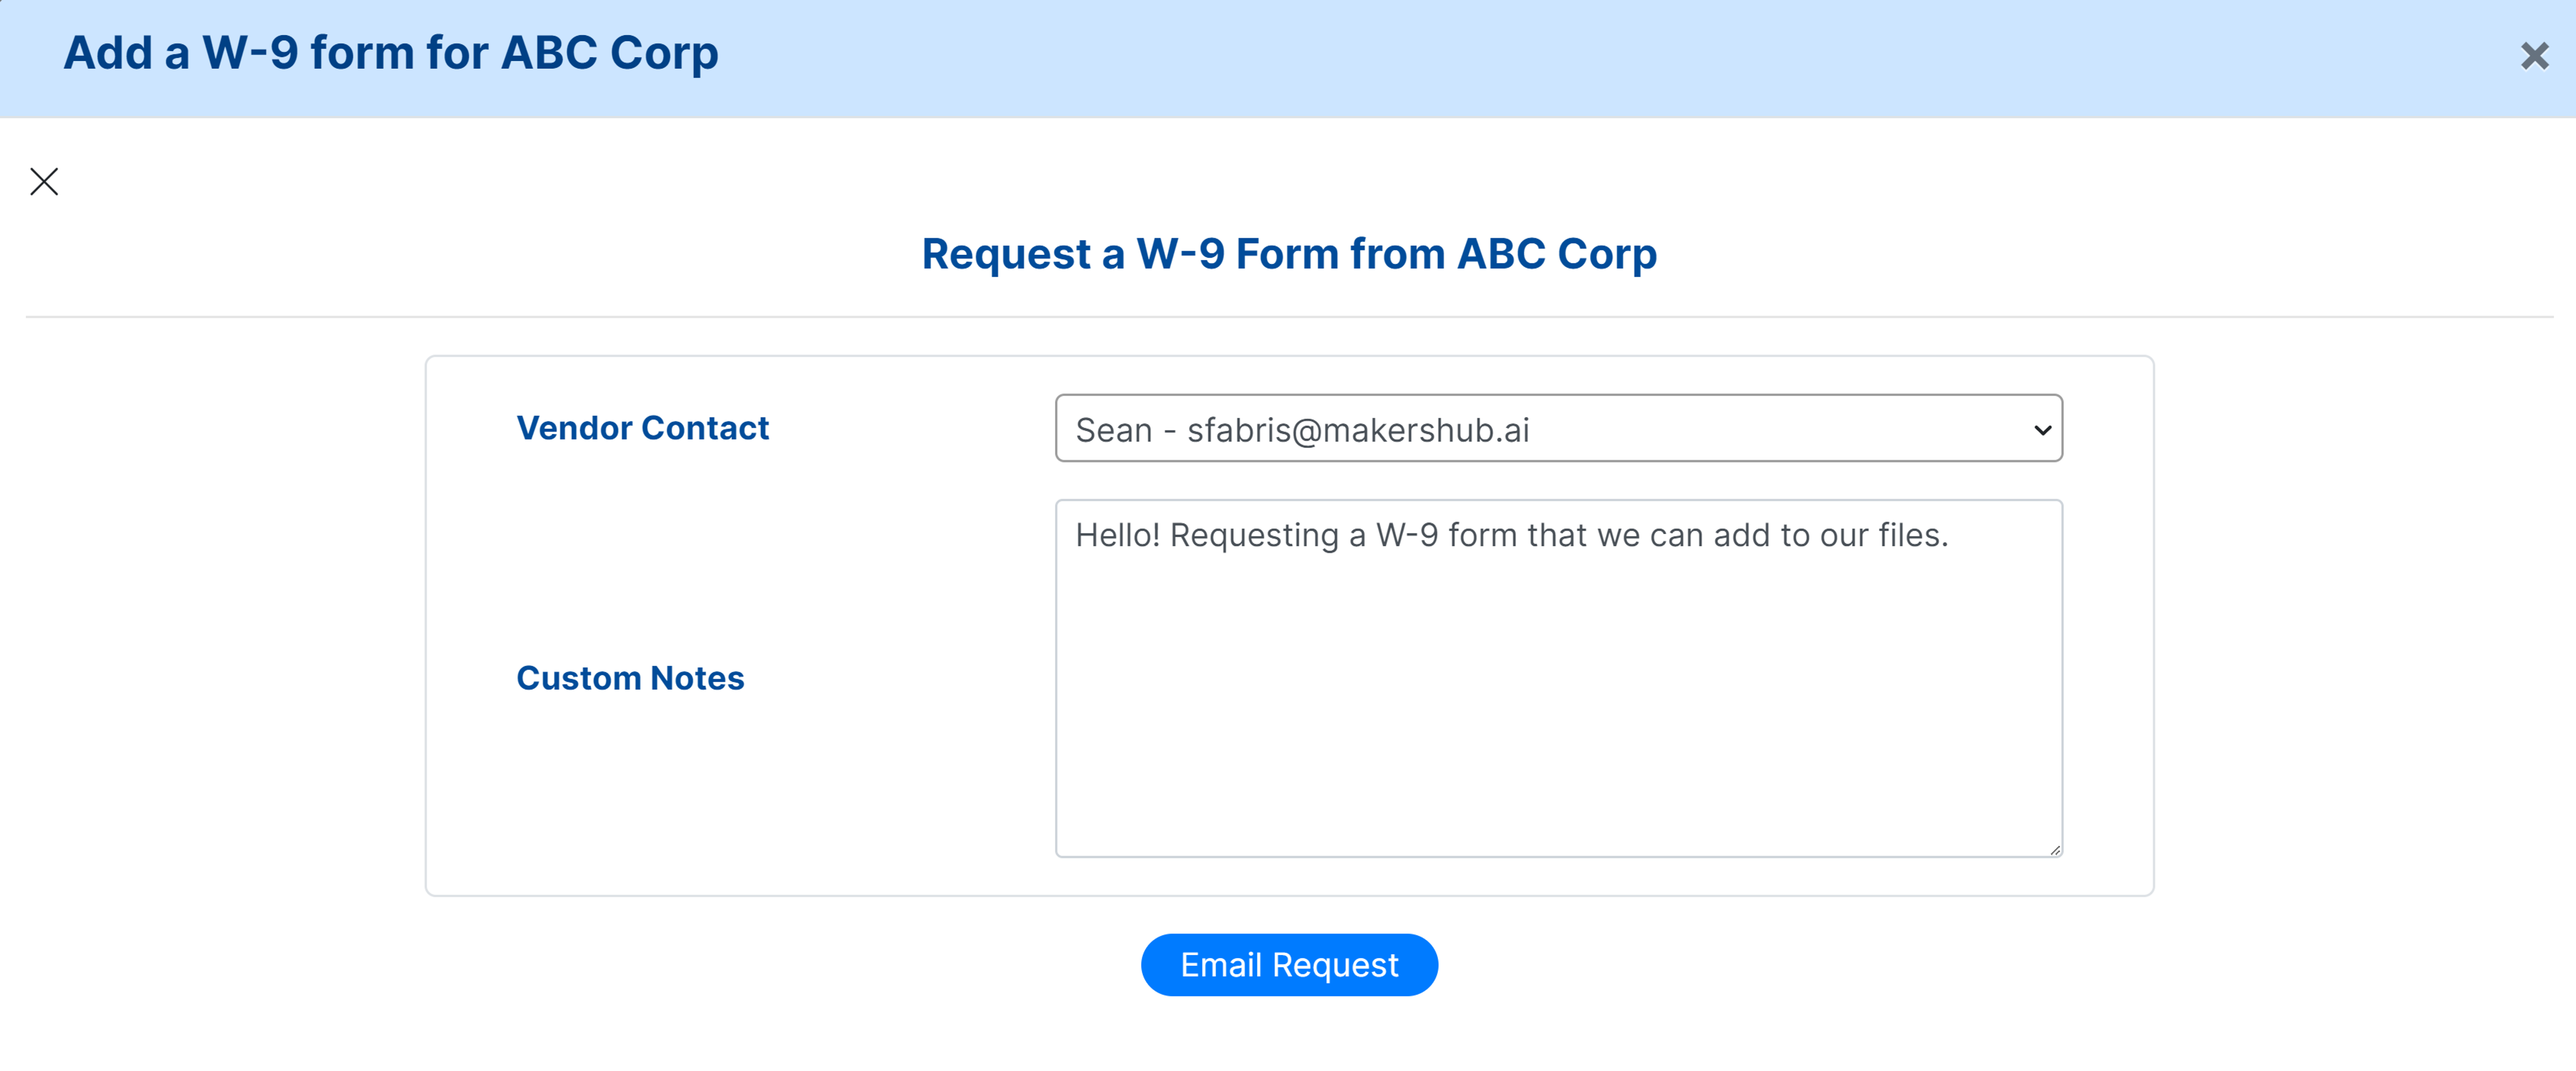
You can select the vendor contact and format an email that will be sent on your behalf with a secure link to add their W-9 details. Click Email Request to send the email.
Manage Communication Templates
Pre-built email templates can be applied in this step to standardize vendor correspondence. See the following article for more detail: Manage Communication Templates
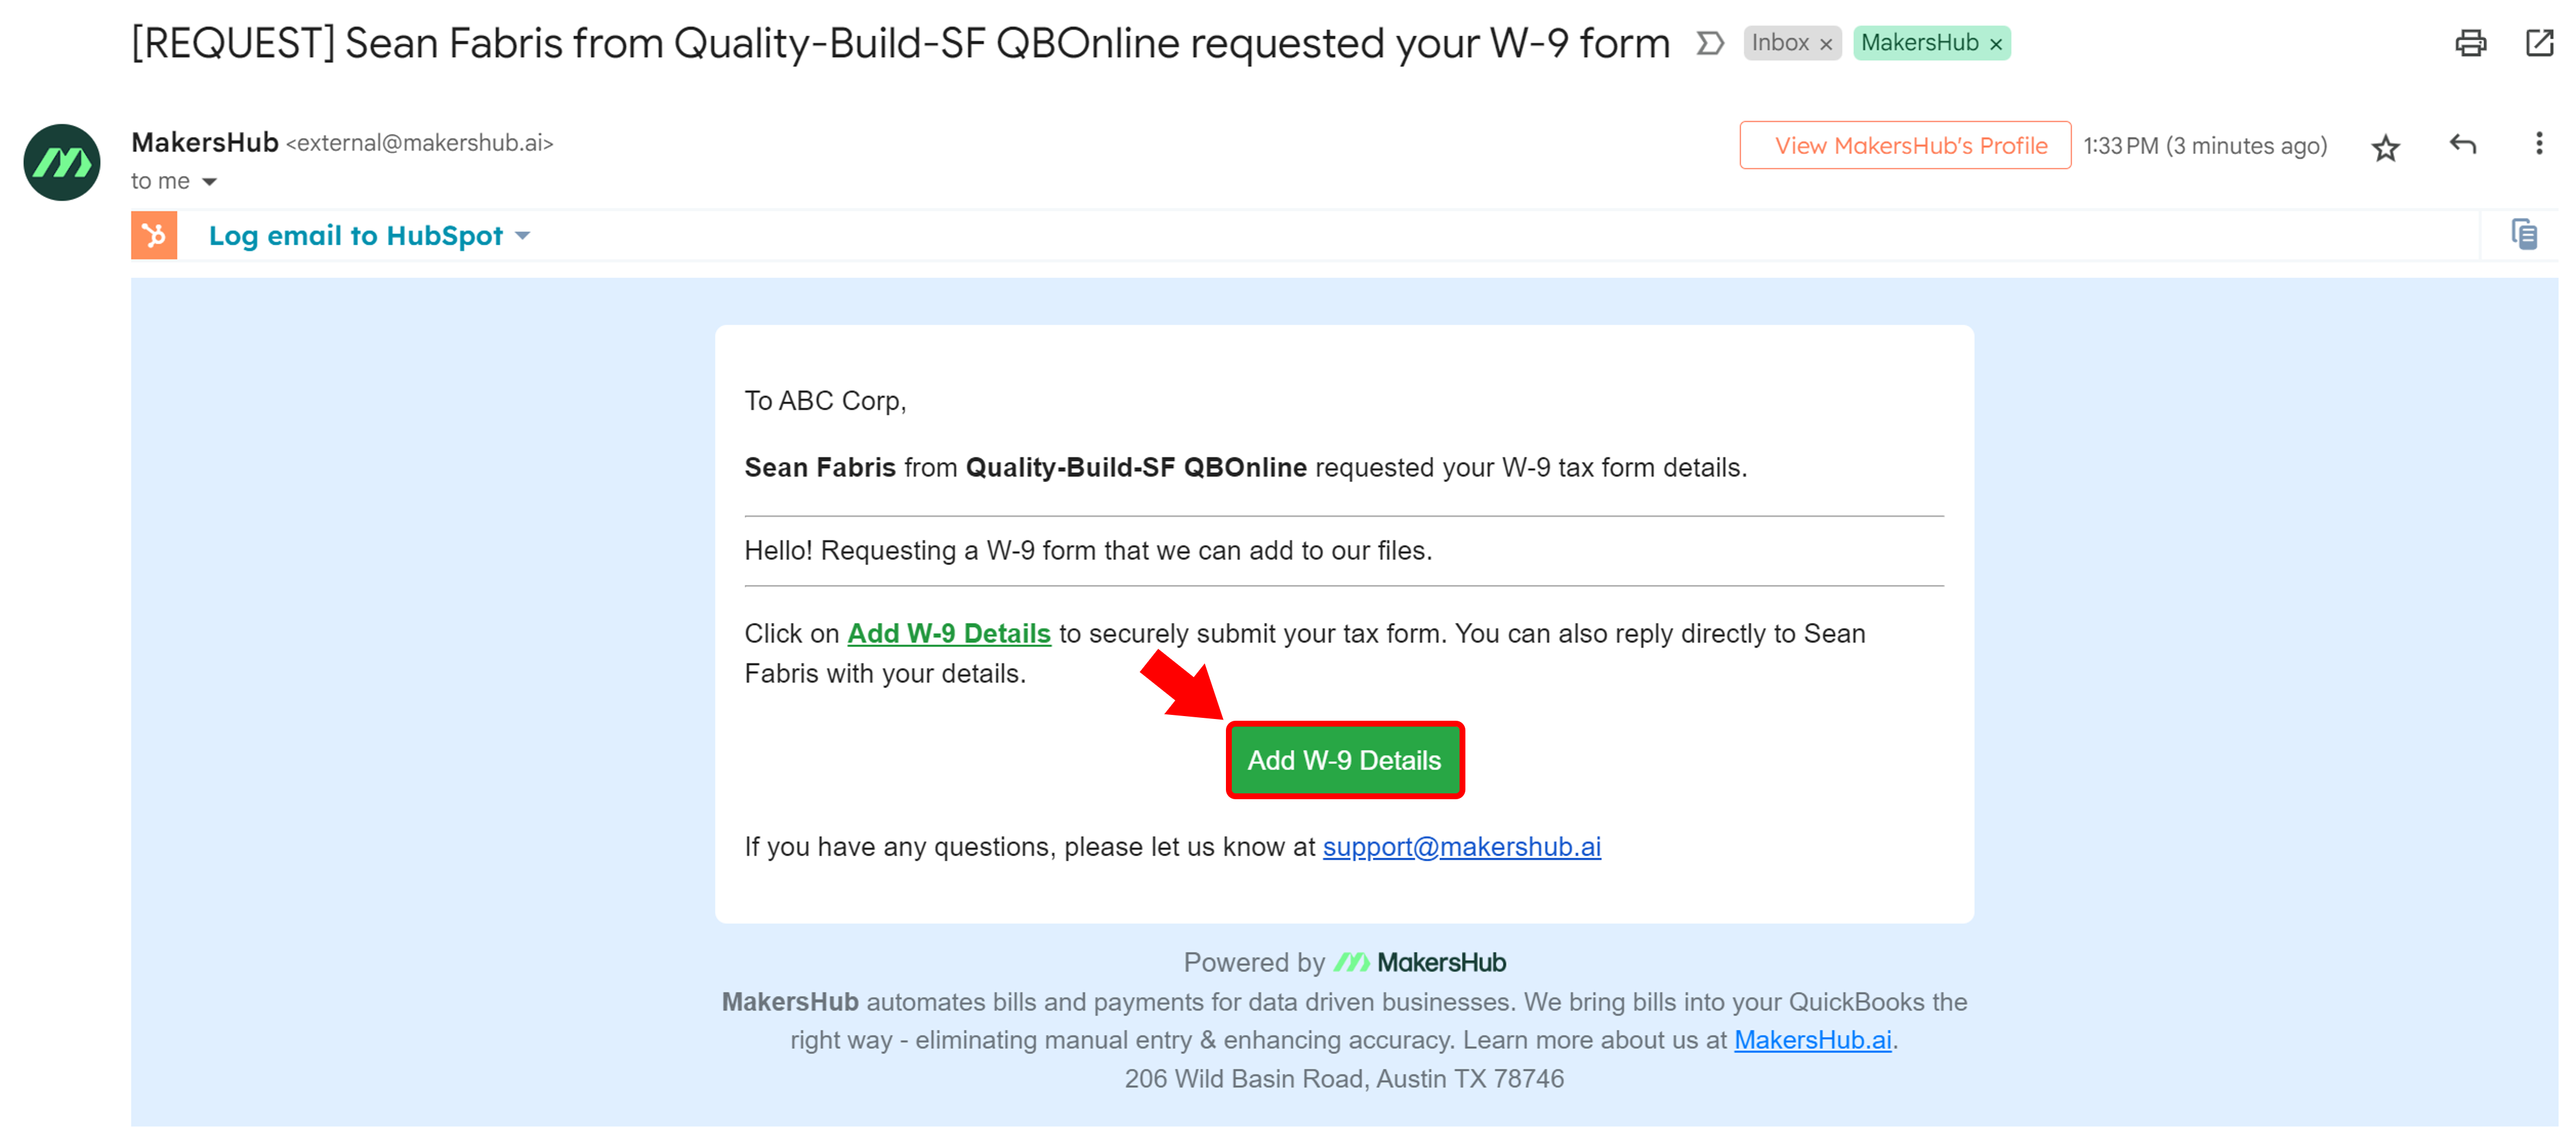
The vendor will then receive an email where they can select Add W-9 Details to securely upload their W-9 information.
Vendors can Fill out a W-9 Form or Upload a W-9 form from their documents.
.png)
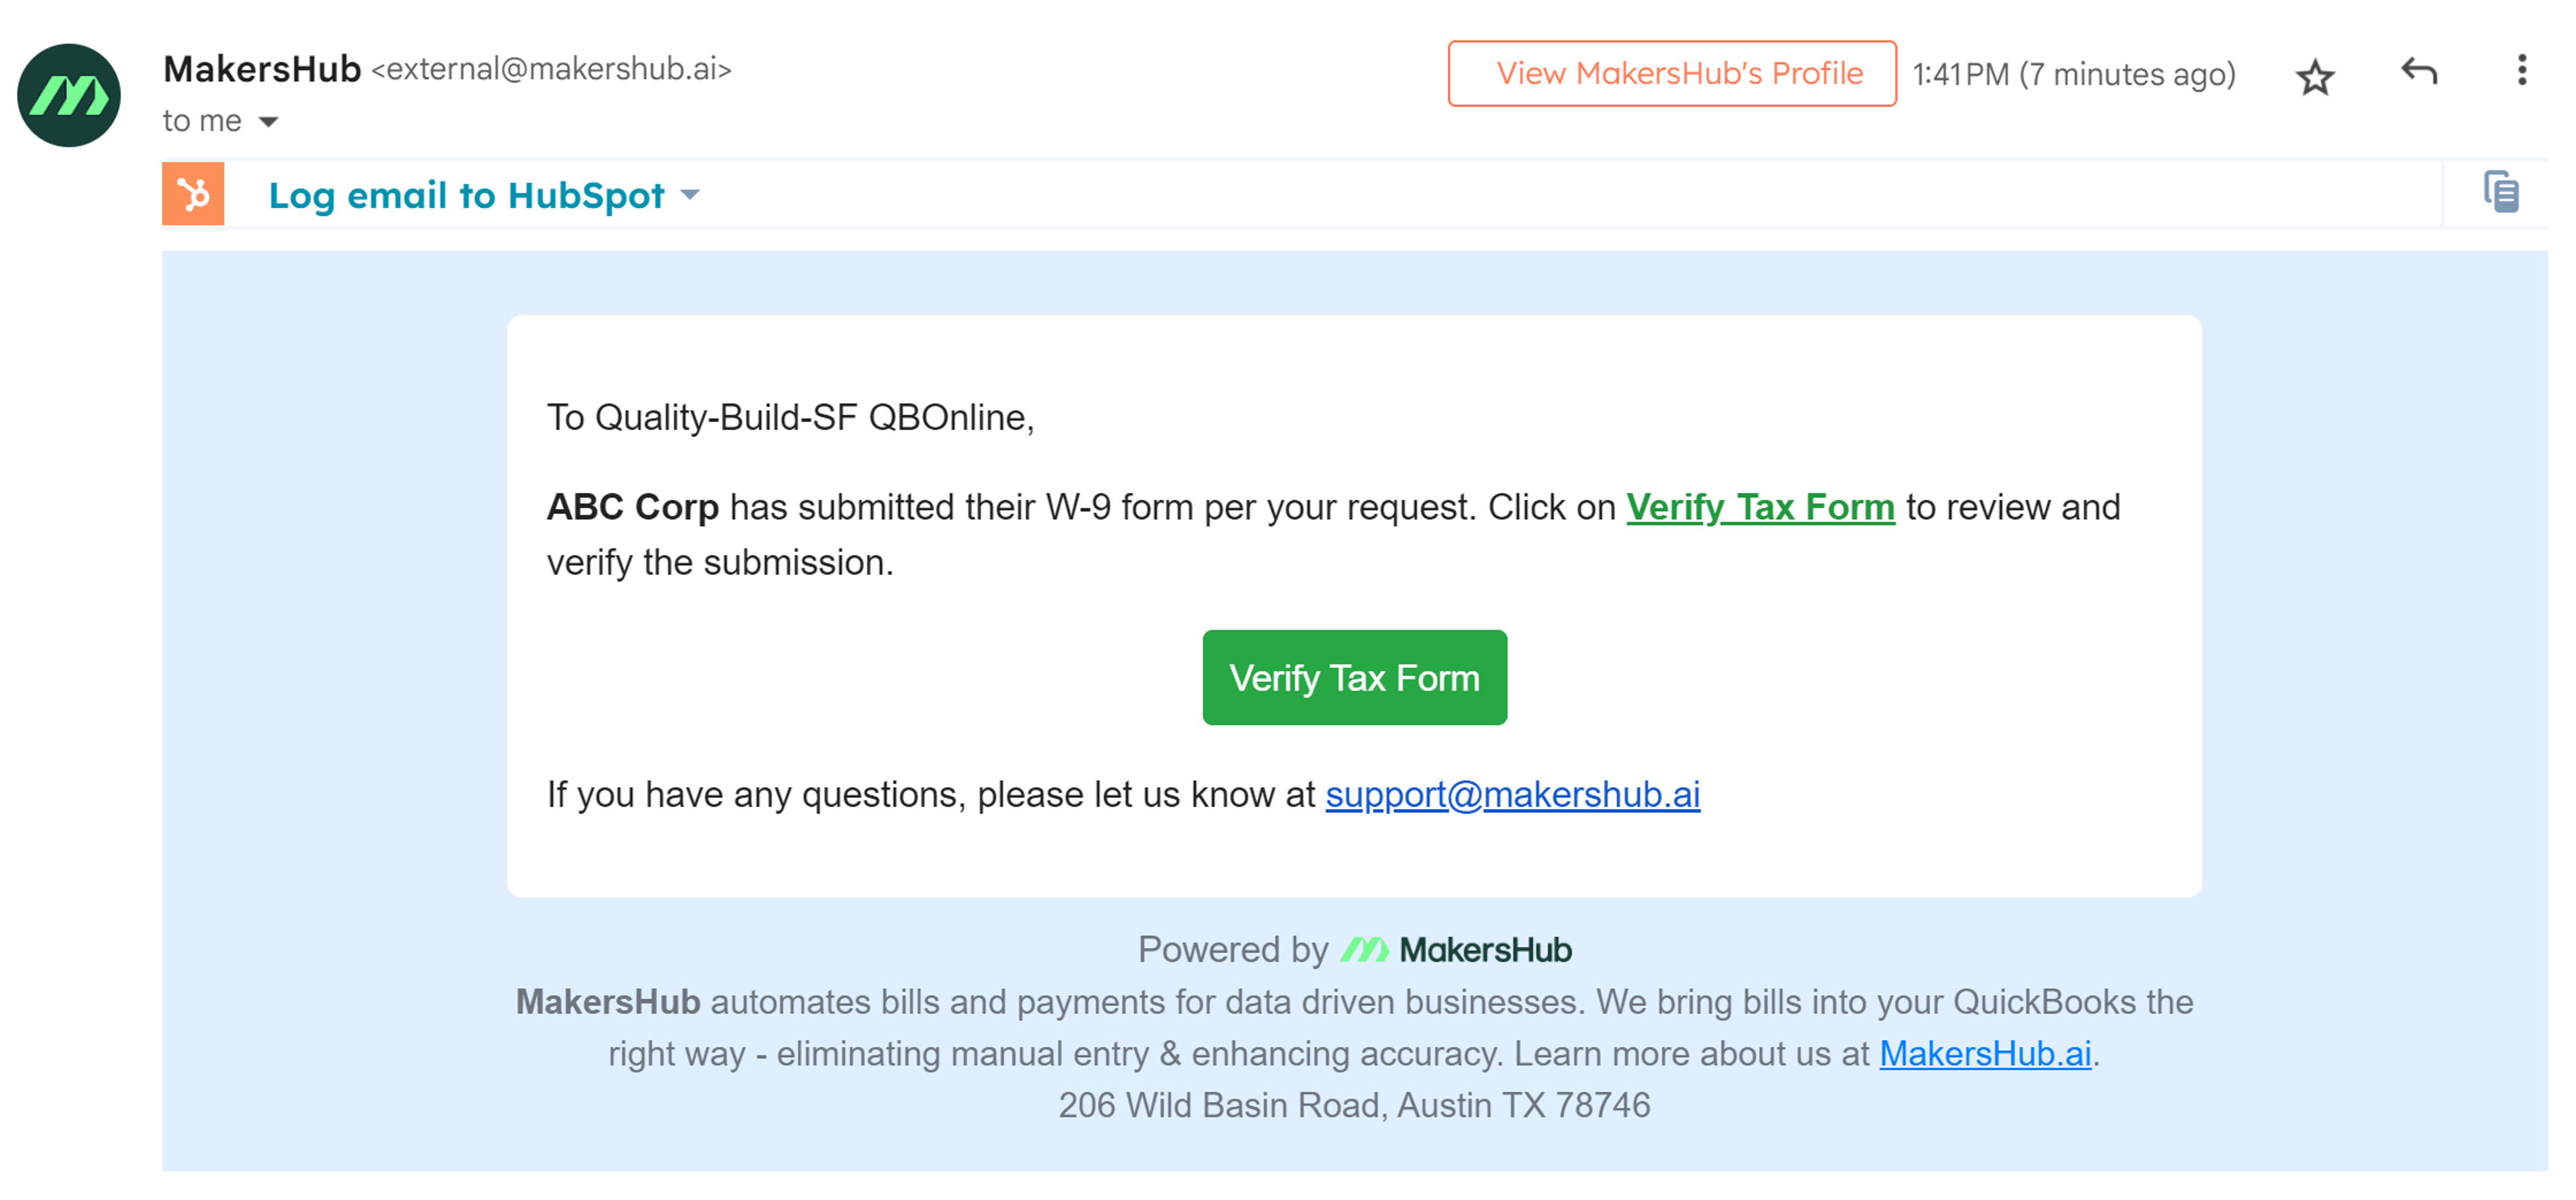
Upon completion, you will receive an email notification that the W-9 has been submitted for your review. You can select Verify Tax Form to be taken to the Vendor Detail page in MakersHub.
In the event that you have not received the submission from the vendor, you may also select Send Reminder to send a follow-up email to the vendor.
.png)
Verify Tax Form
Once a vendor or a user submits a W-9, it needs to be verified by an Admin or a user with Accounting Access. To verify the W-9, Navigate to the Vendor Detail page and select Review and Verify.
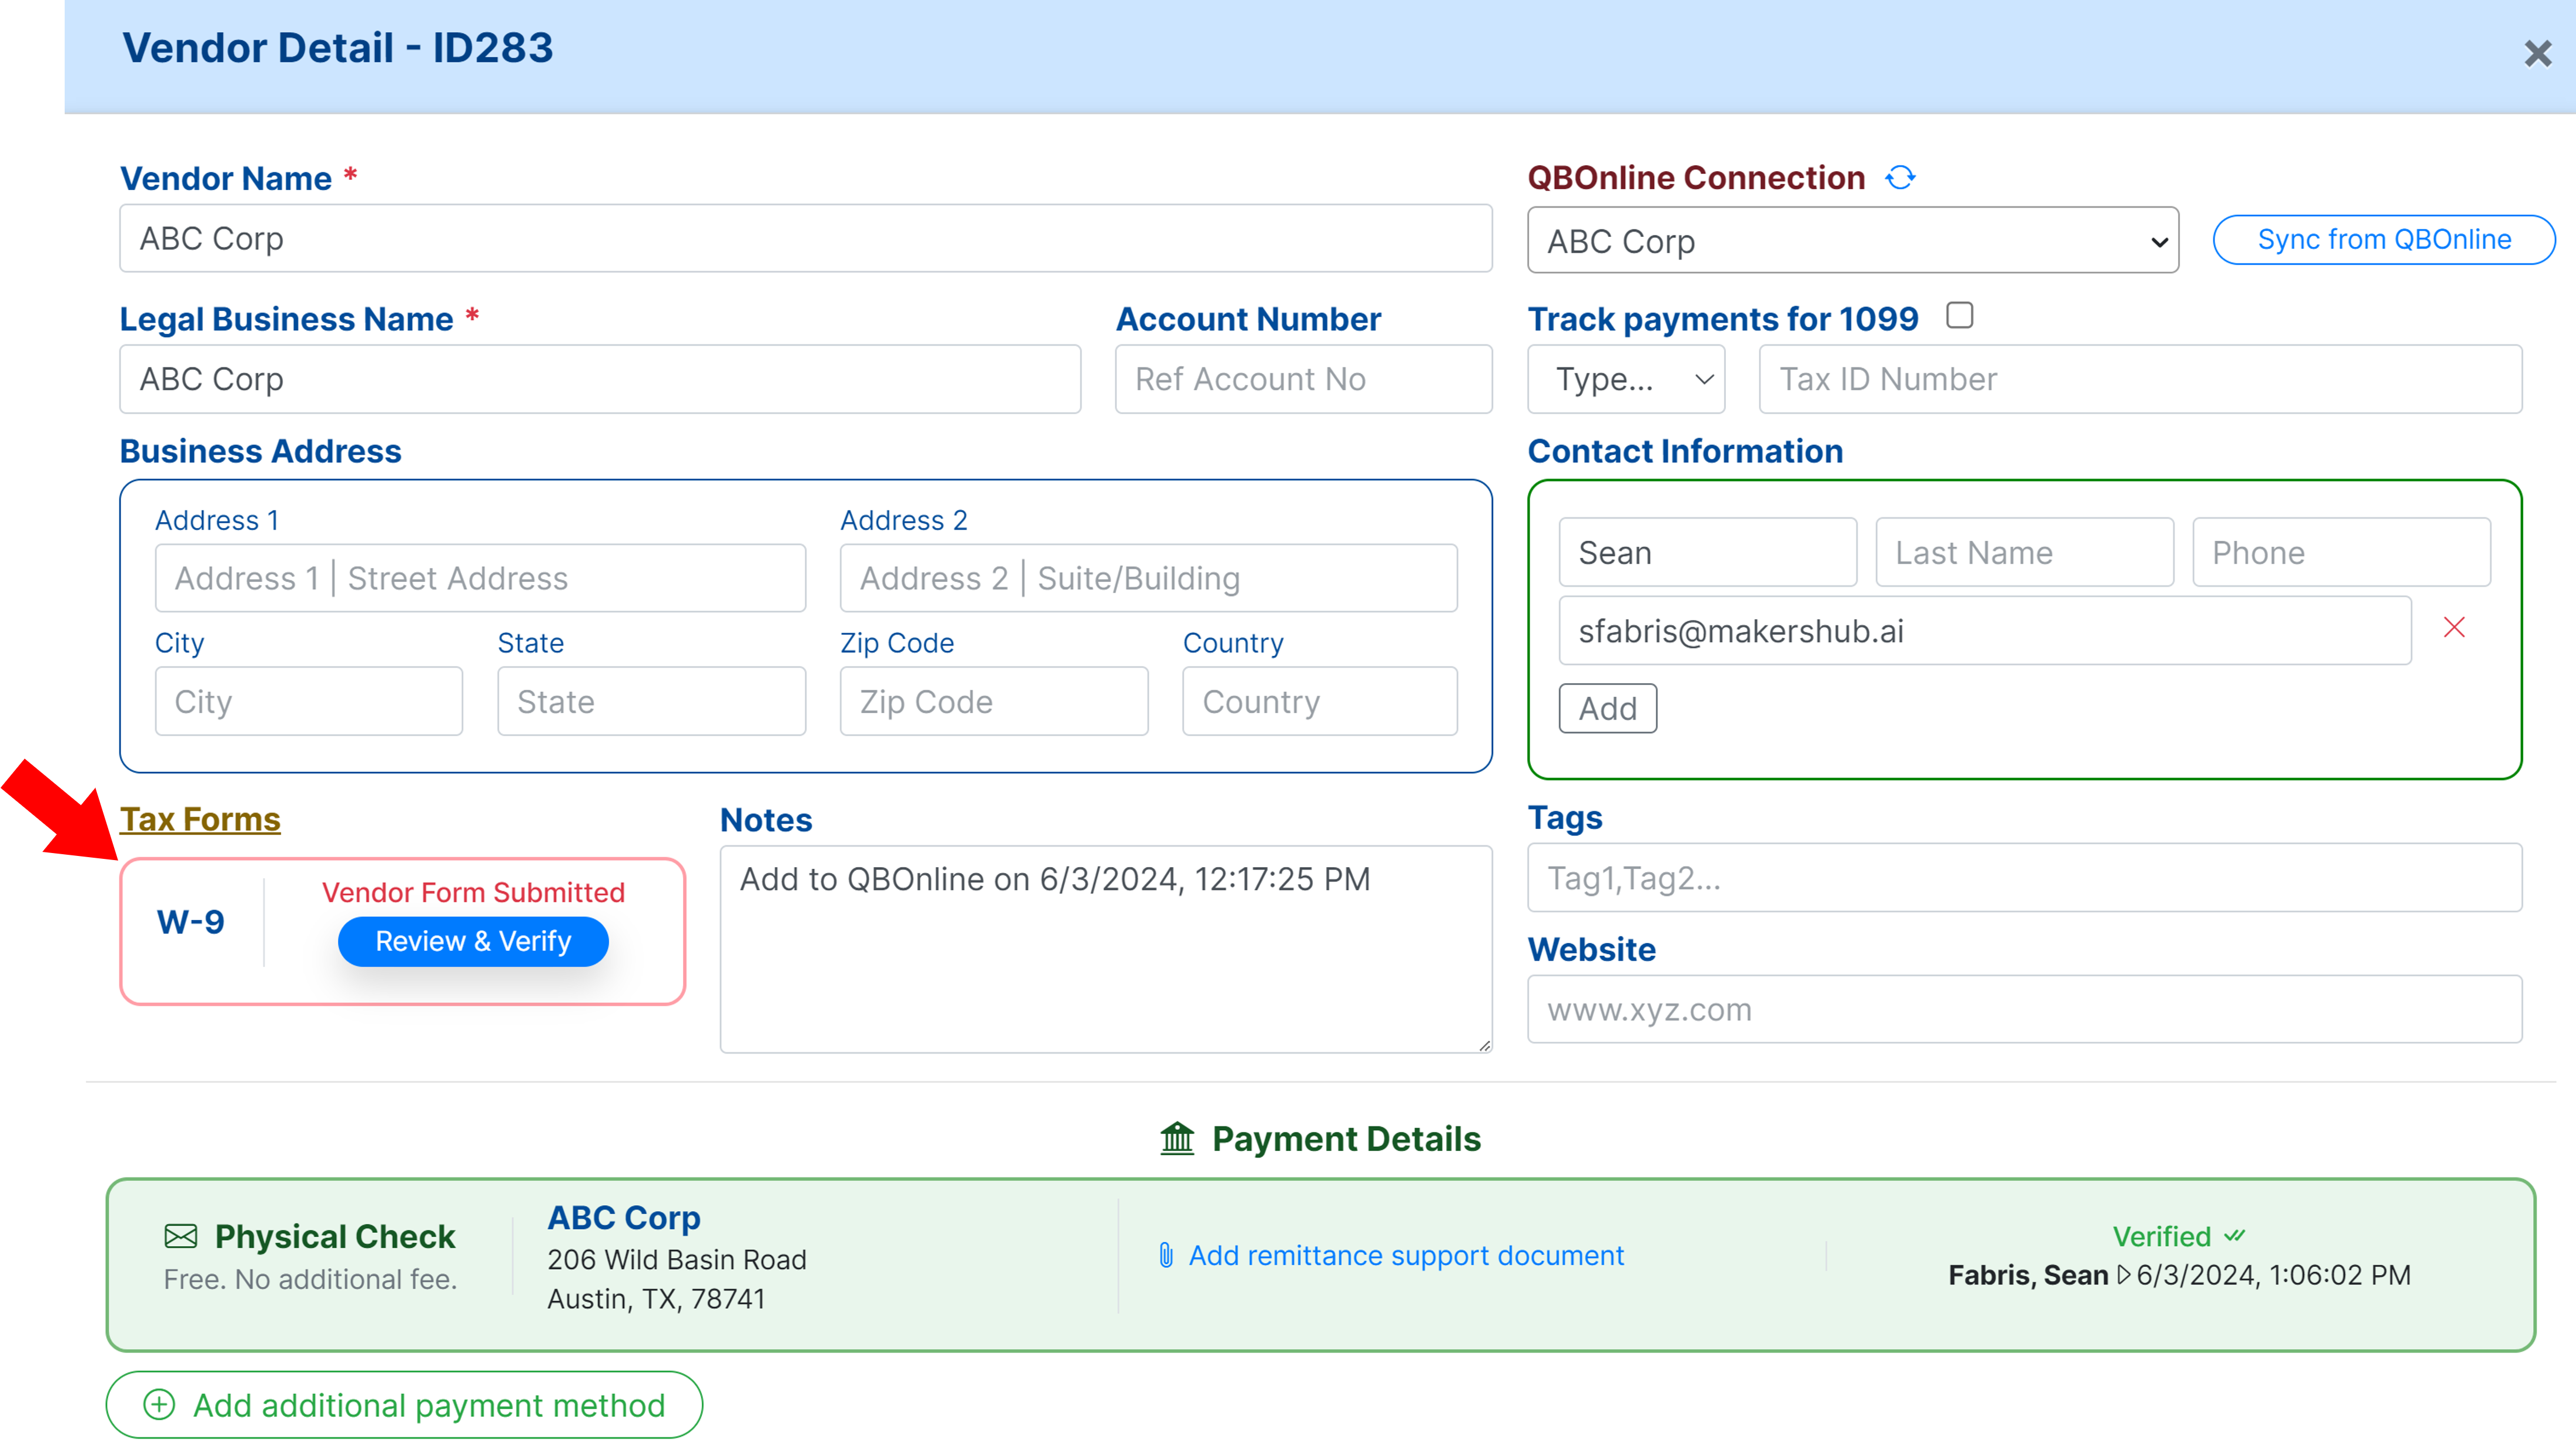
A pdf will then appear with the option to Verify or Delete the W-9. If the information is correct, you may select Verify.
.png)
A time stamp will be shown with the date and time the payment was verified.
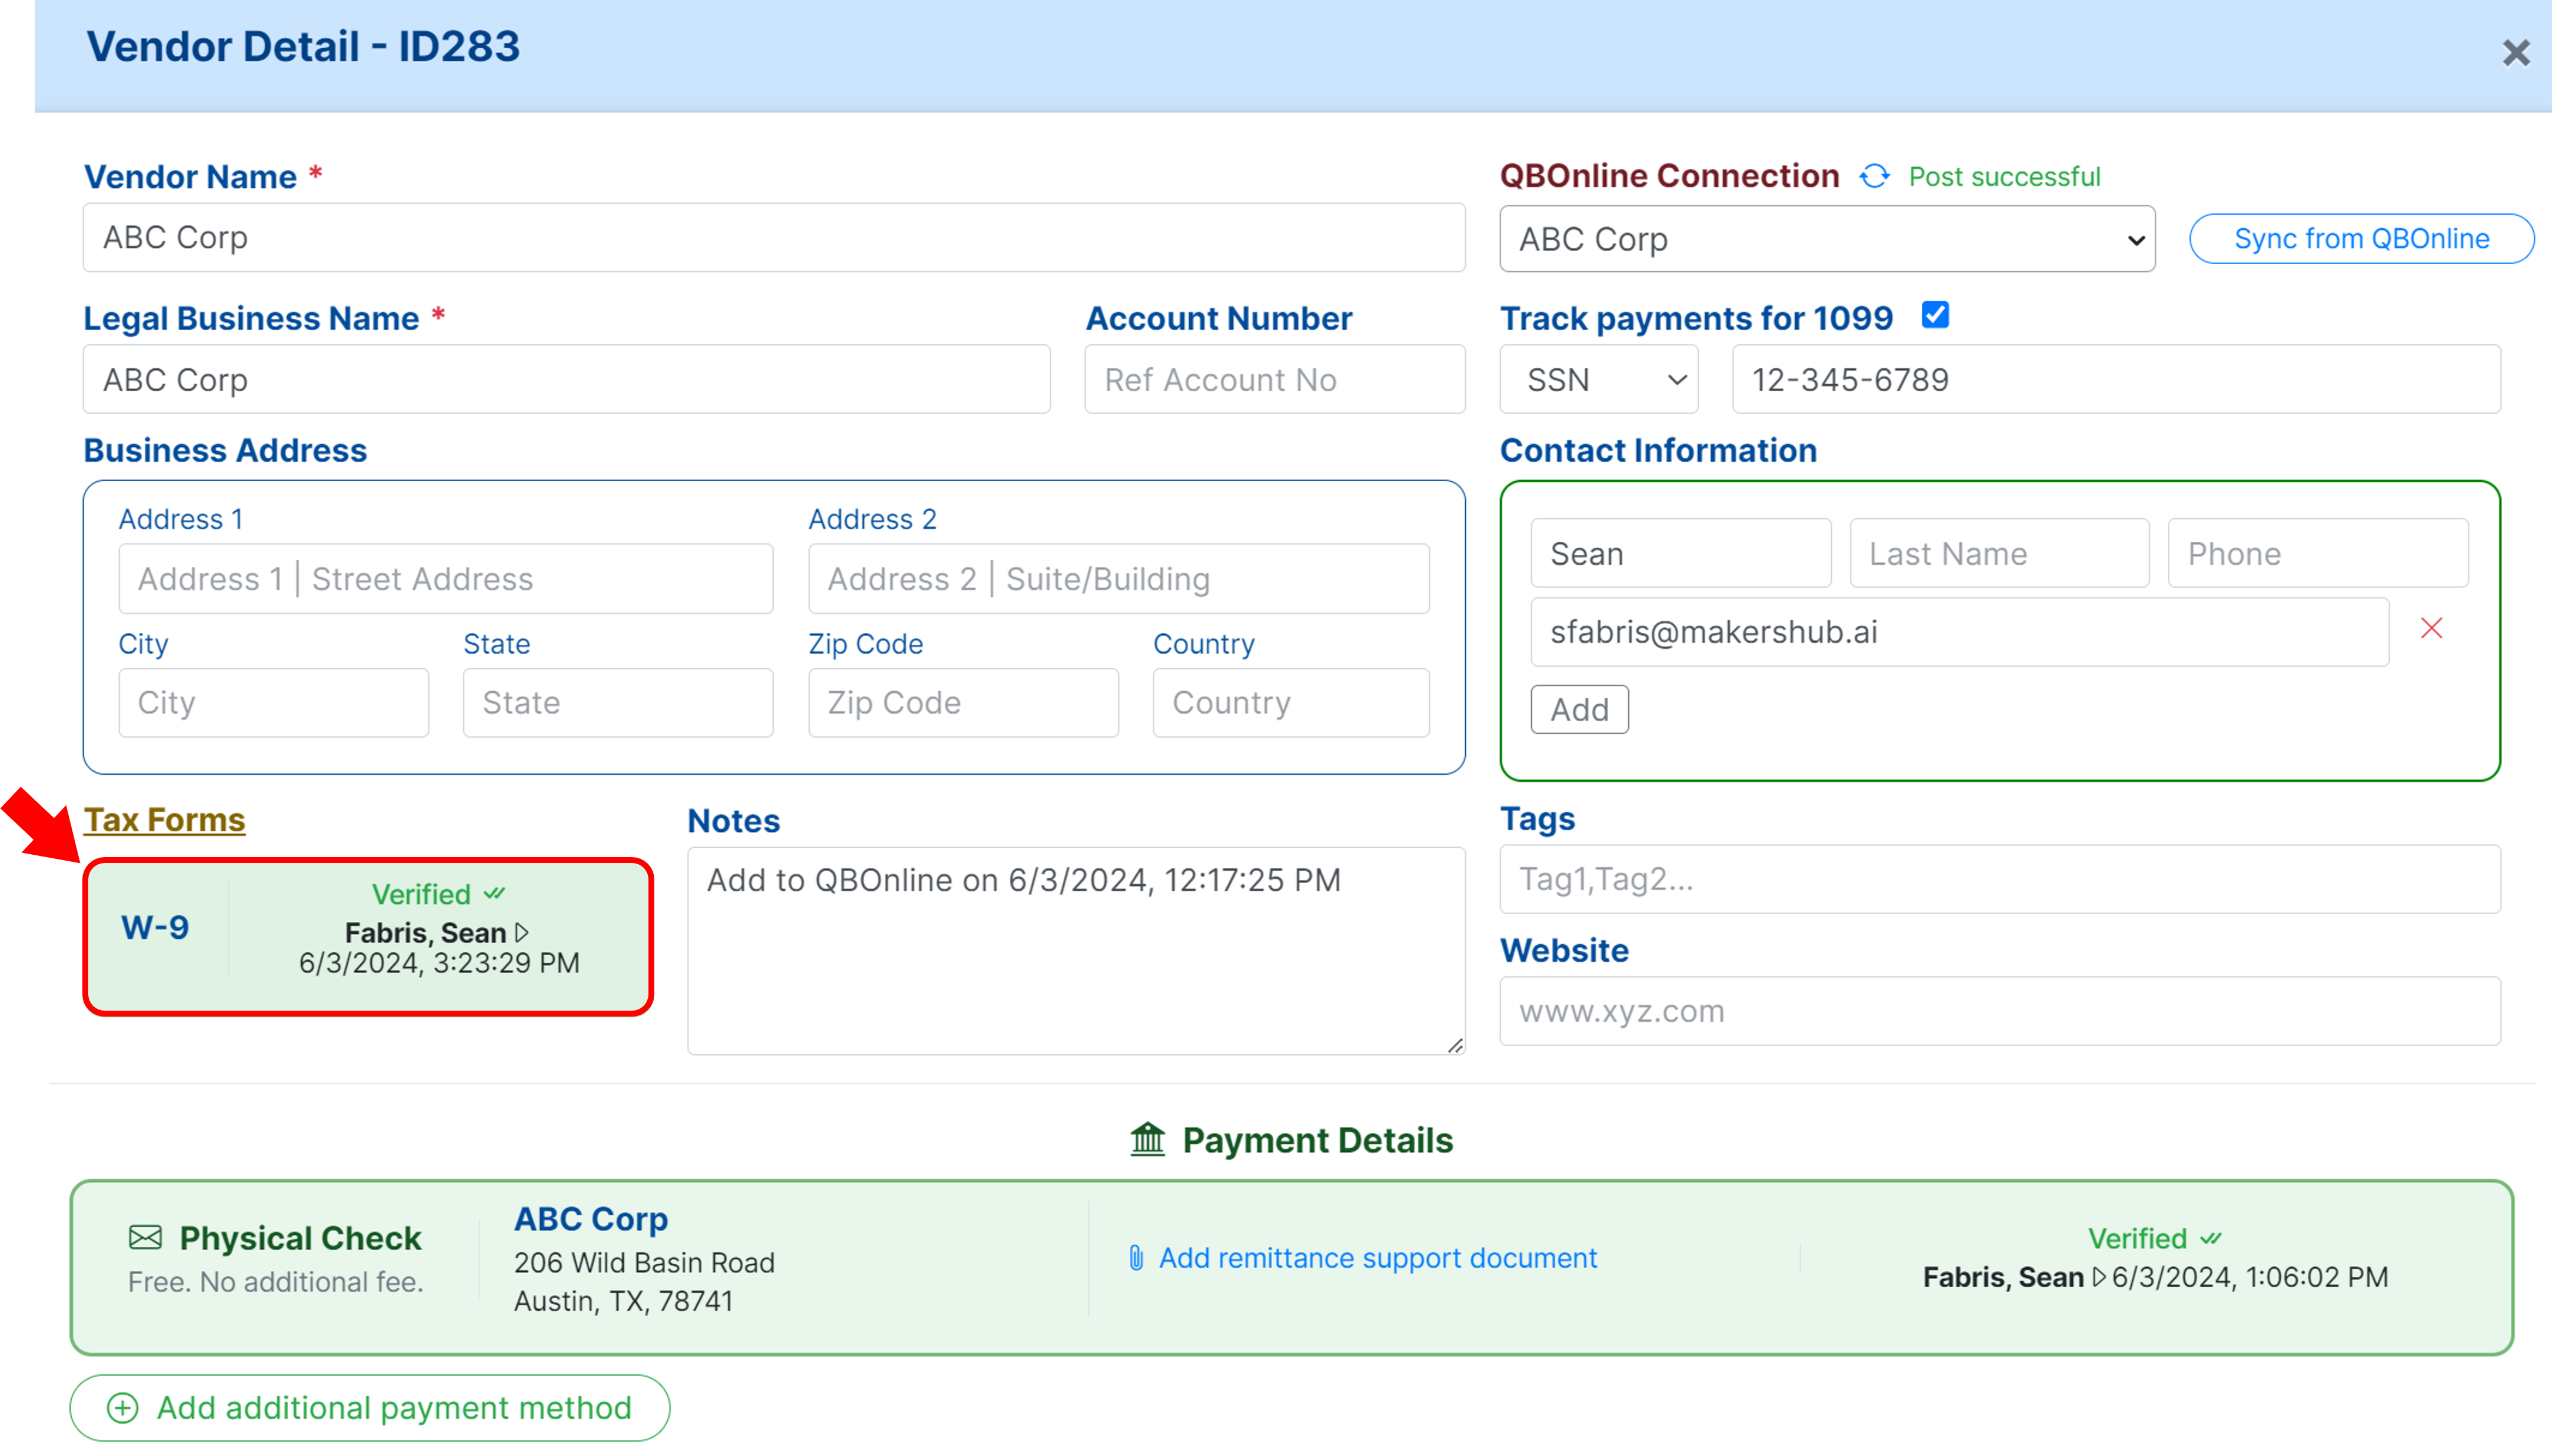
Now that the W-9 has been successfully added, you can schedule payments for your vendor.